If you’ve decided that the WP Express Checkout Plugin will be the right fit for your website and business venture, this documentation will help you get started from the installation process right through to the basic and required set up.
This simple and lightweight eCommerce plugin for WordPress only requires a few basic setup to be completed to get started. So you can configure this plugin quickly and start selling products and services from your WordPress site fast.
Table of Contents
Basic Setup and Usage
1) Installing and Activating the Plugin
You can install the plugin directly from the WordPress.org site by searching for its name.
- Log in to your WordPress admin dashboard as an administrator.
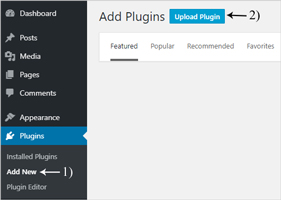
- Navigate to Plugins > Add New in the left-hand menu.
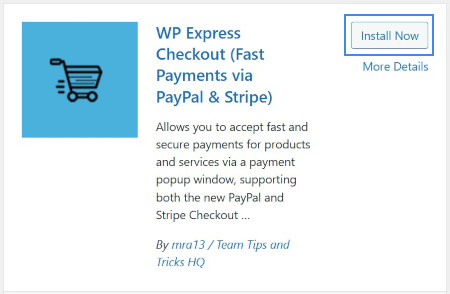
- Search for the plugin: In the search bar on the right, type “WP Express Checkout”.
- Locate the correct plugin: Look for the one developed by Tips and Tricks HQ (it supports PayPal and Stripe payments).
- Install the plugin: Click Install Now next to the plugin.
- Activate it: After installation completes, click Activate.
Alternatively, you can manually install the plugin by uploading the ZIP file using the following steps.
- Download the zip file of the plugin.
- Go to Plugins > Add New.
- Click the Upload Plugin button at the top of the page.
- Click Choose File, select the wp-express-checkout.zip file from your computer, and click Install Now.
- Click Activate Plugin once the upload finishes.
2) Configuring the Basic Settings
Before creating your first product or service, make sure to configure the basic settings.
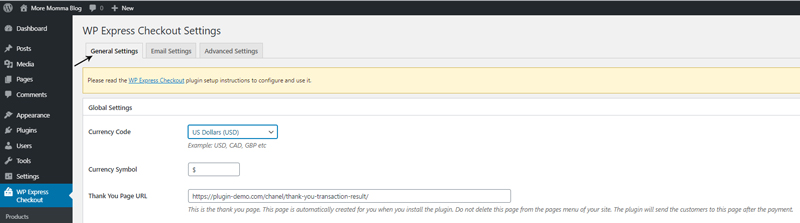
- Access Settings – In your WordPress dashboard, go to WP Express Checkout → Settings to open the plugin’s main settings page.
- Set Currency – Choose your preferred Currency Code from the drop-down menu. This will be the currency used for all product listings. You can adjust the currency symbol if needed.
- Configure Thank You Page – The Thank You Page URL shows the link to your thank you page, which can be edited from the Pages menu in WordPress. This page should not be deleted.
- Default Settings – You can leave the other settings at their default values for now.
3) Configuring PayPal API Credentials
Refer to this documentation for detailed instructions on configuring your PayPal Credentials, which are necessary to process transactions via PayPal using the WP Express Checkout Plugin.
Here’s an overview of the process to configure your PayPal credentials.
- Go to the Settings menu of the WP Express Checkout plugin. Then, click on the PayPal Settings tab.
- Under the PayPal API Connection sub-tab, click the Get PayPal Live Credentials button. This will open a PayPal login popup window.
- Log into your PayPal account and complete the authorization process.
- Once the process is complete, the plugin will automatically receive and save the API credentials.
- Navigate to the API Credentials sub-tab to confirm that the plugin has successfully acquired and stored the API credentials.
Creating Products
Once the basic configuration is done, you are ready to create your products and start selling. Read this documentation to learn how to create products and display it on your website so the customers can purchase it.
Add Your Products to Any Page
The following video demonstrates the different ways you can embed products on any page of your site.