We previously spoke about how the default product shortcode of each of your WP Express Checkout products can be pasted onto a WordPress page or a post to display a purchase button. While using the basic shortcode allows you to add your product button to your website, you can add a ‘template‘ parameter to this shortcode to alter the way the product and button is shown on the front end of your website. The template options are a nice way of displaying a product box with details, a thumbnail image, the price of the product and the important PayPal purchase button.
Why Should I Use a Template to Embed or Display a Product?
Many of our users use the ‘template’ parameter within the product shortcode as this outputs an aesthetically pleasing product that can include the description, thumbnail, price, and purchase button. If you have multiple products that you wish to display on a single page, using the template option will allow you to display them all neatly so that your customers can easily distinguish between the products you offer. There are a few template to choose from.
Displaying a Product with Template 1
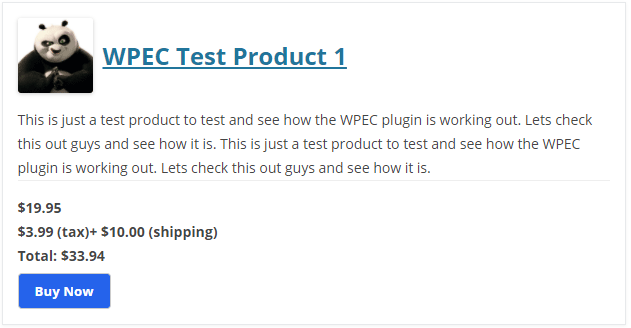
Once you have created a product you can use the following template shortcode, to display your product and a ‘Buy Now’ button on any WordPress post or page. This style is known as ‘Template 1“. This template will display your product’s title, description, thumbnail image, price, and purchase button.
Template 1 Product Shortcode:
[wp_express_checkout product_id="1234" template="1"]
You will need to locate the ID of your product from the ‘WP Express Checkout‘ ‘Products‘ page, and then add this to the shortcode above (in the place of 1234).
Once you view the page or post you have added this shortcode to, you will see your product displayed similar to the product below:
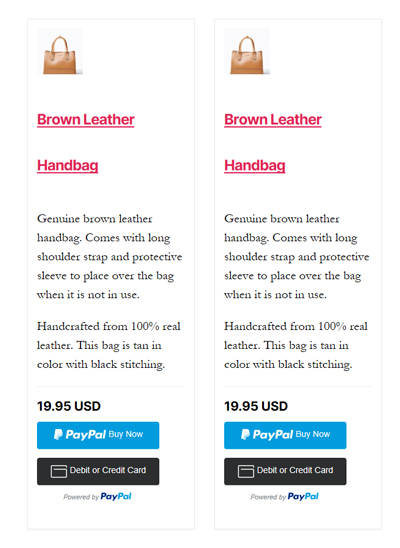
If you wish to display multiple template 1 shortcodes on a single page, using the WordPress column block inserter is a nice way of doing so. In the following screenshot we have added two products side-by-side using the ‘two-column’ option and the template 1 product shortcode:
Displaying a Product with Template 2
The product template 2 displays the product with the full thumbnail image, product name, product description, price and a buy button.
You can use the template=”2″ parameter in the shortcode to use template 2 to embed a product on your site. The following is an example usage of the shortcode:
[wp_express_checkout product_id="1234" template="2"]
The following screenshot shows an example of how template 2 looks like:

Displaying a Product with Template 3
The product template 3 displays the product with the a small thumbnail image, product name, price and a buy button.
The following is an example usage of the shortcode showing how to use template 3:
[wp_express_checkout product_id="1234" template="3"]
The following screenshot shows an example of how template 3 looks like: